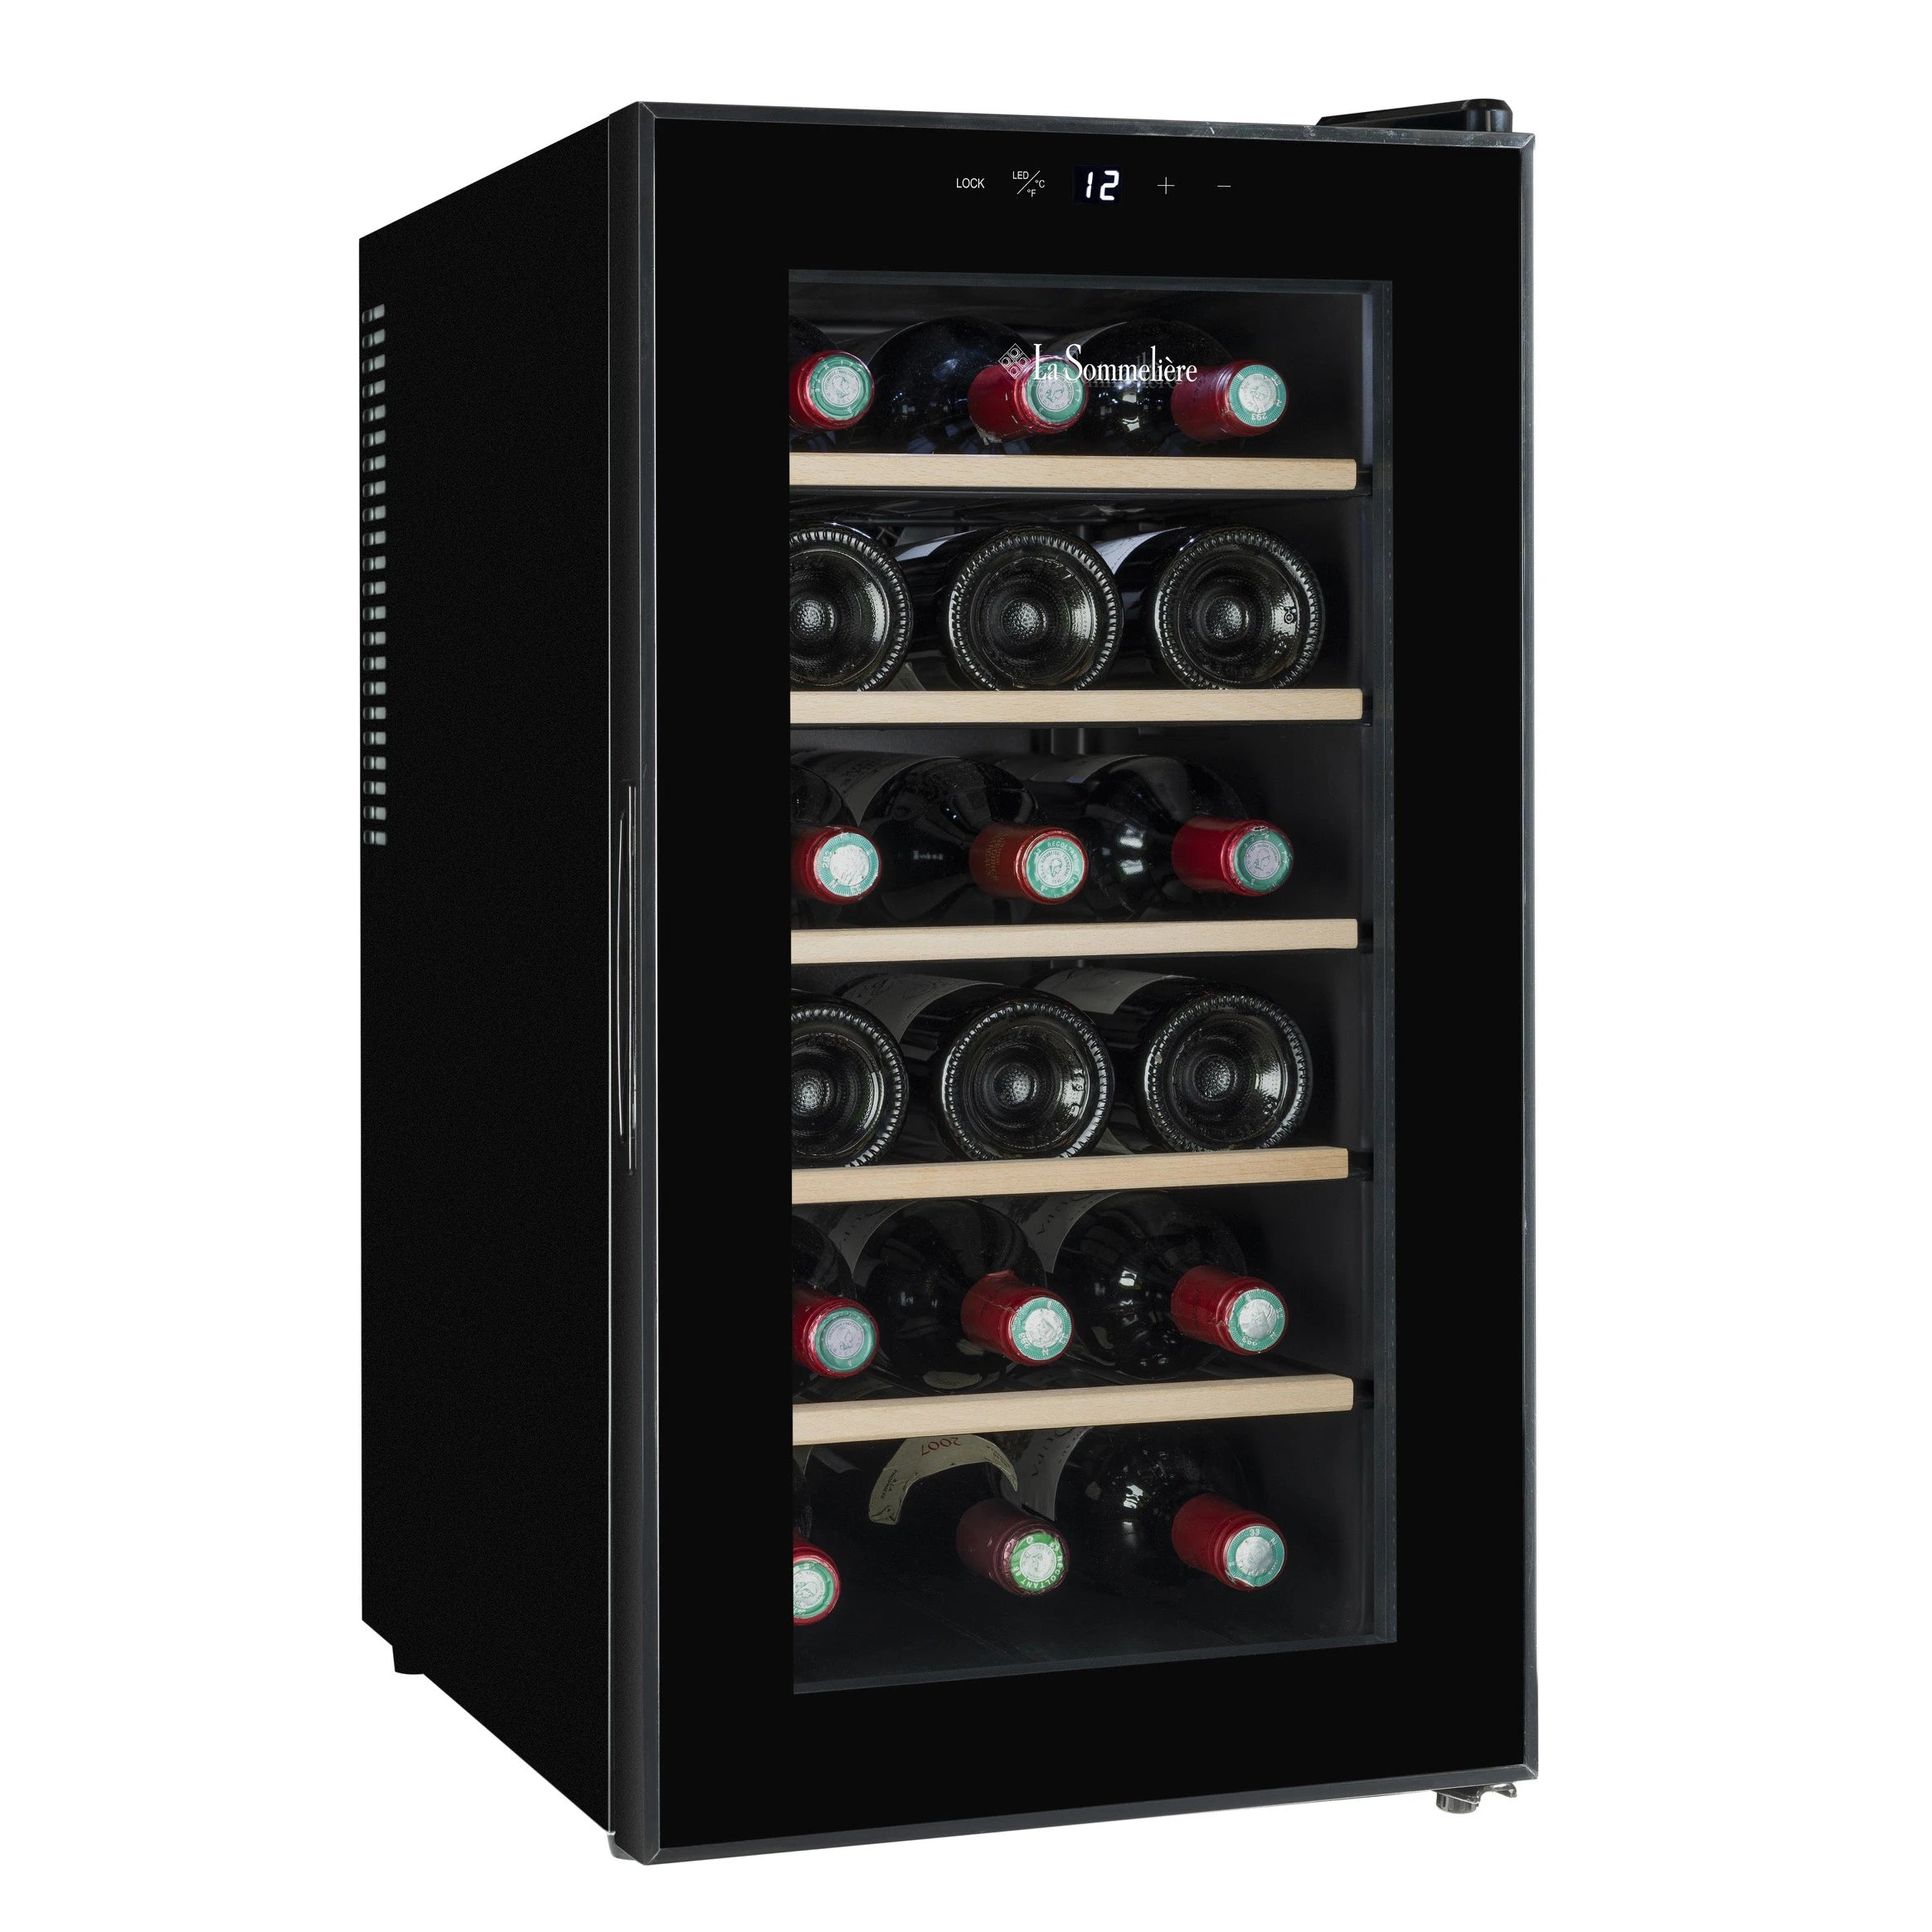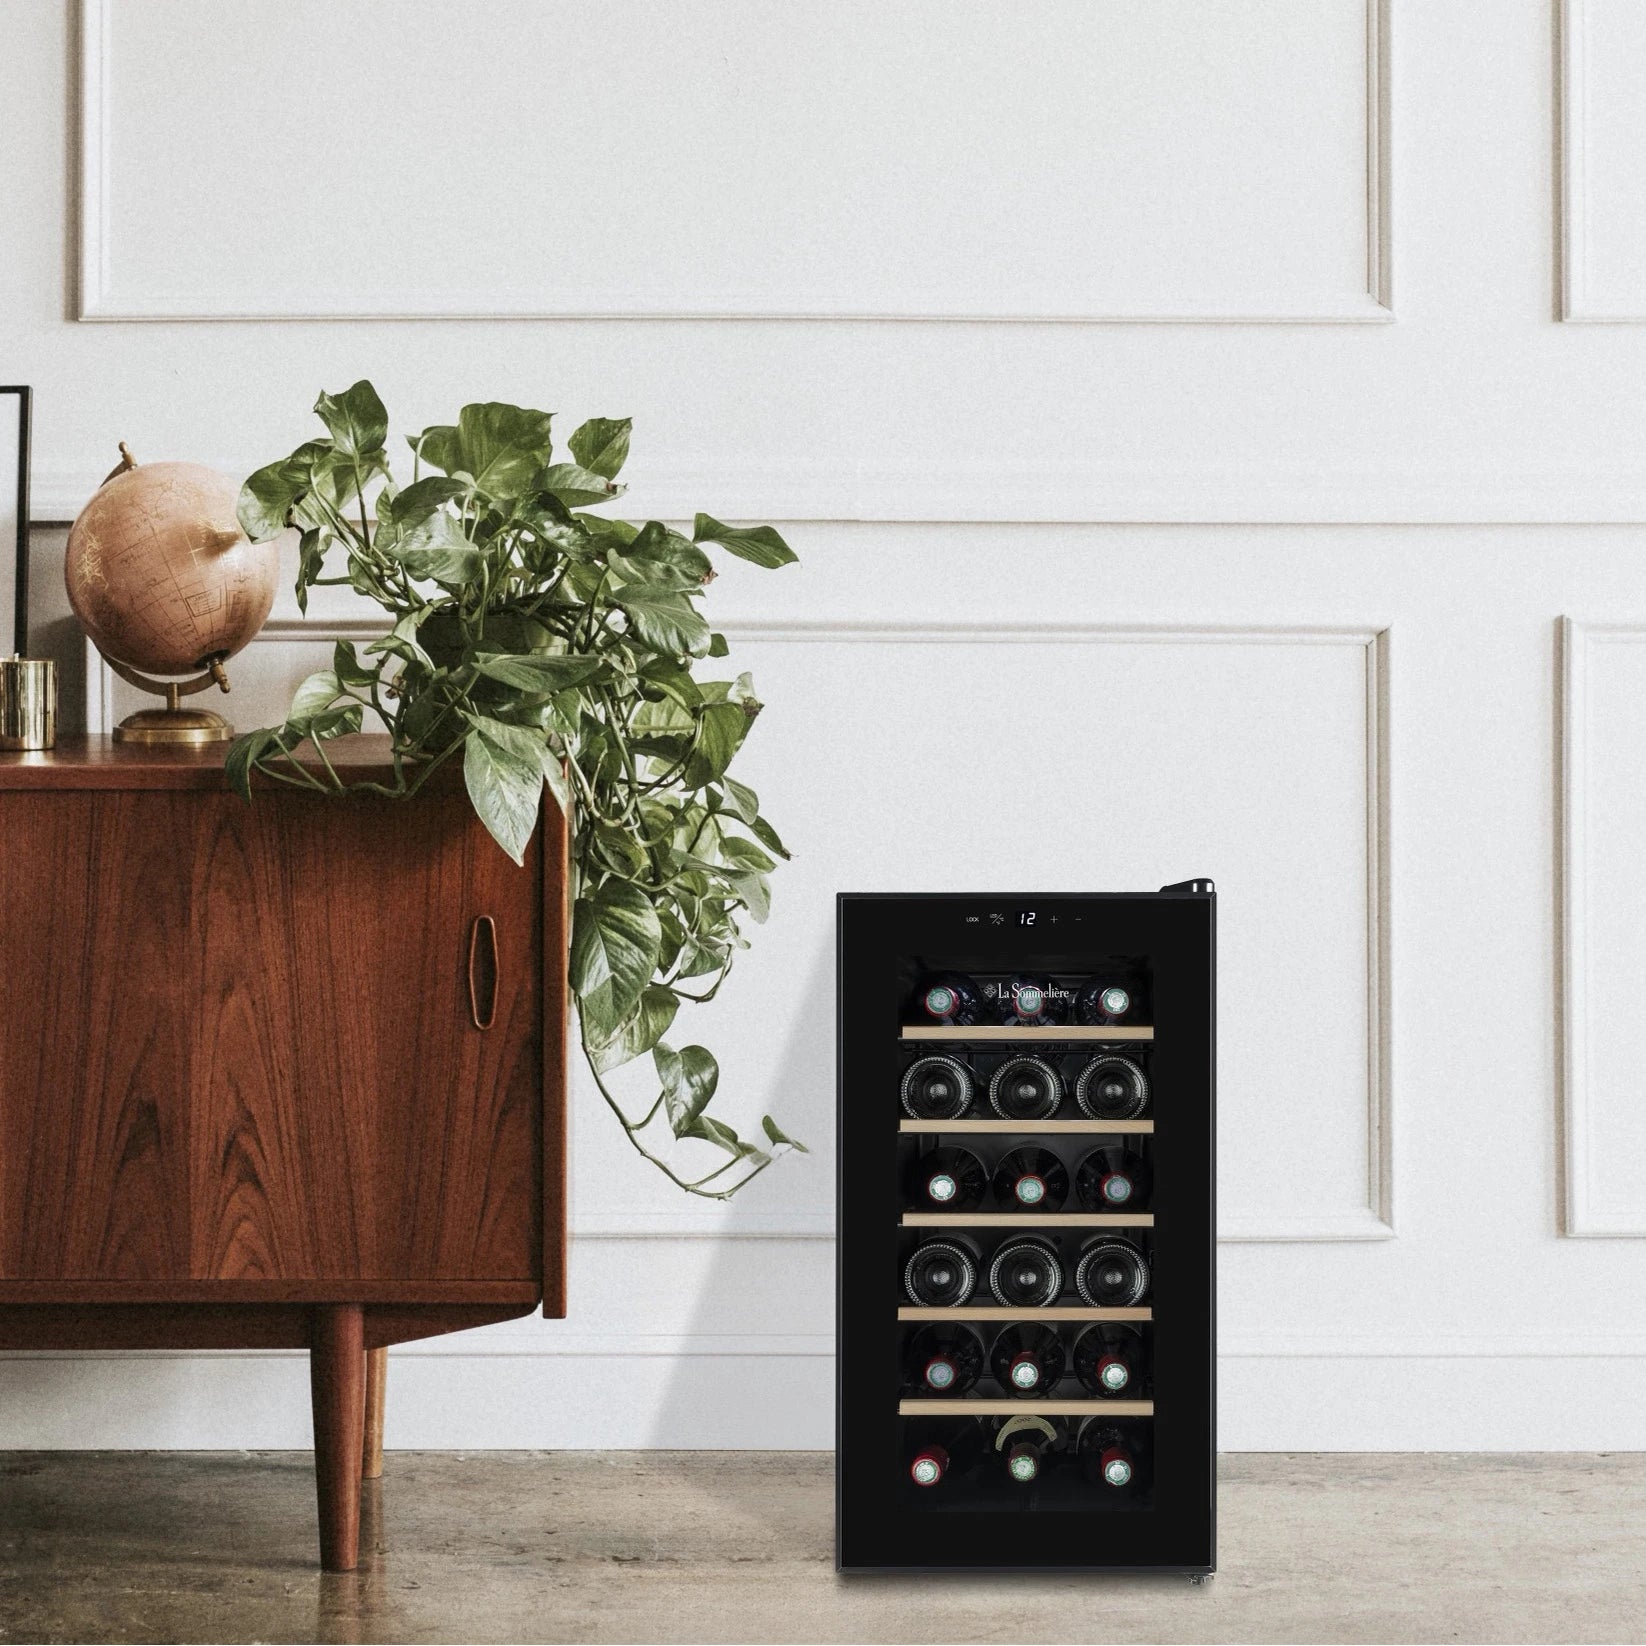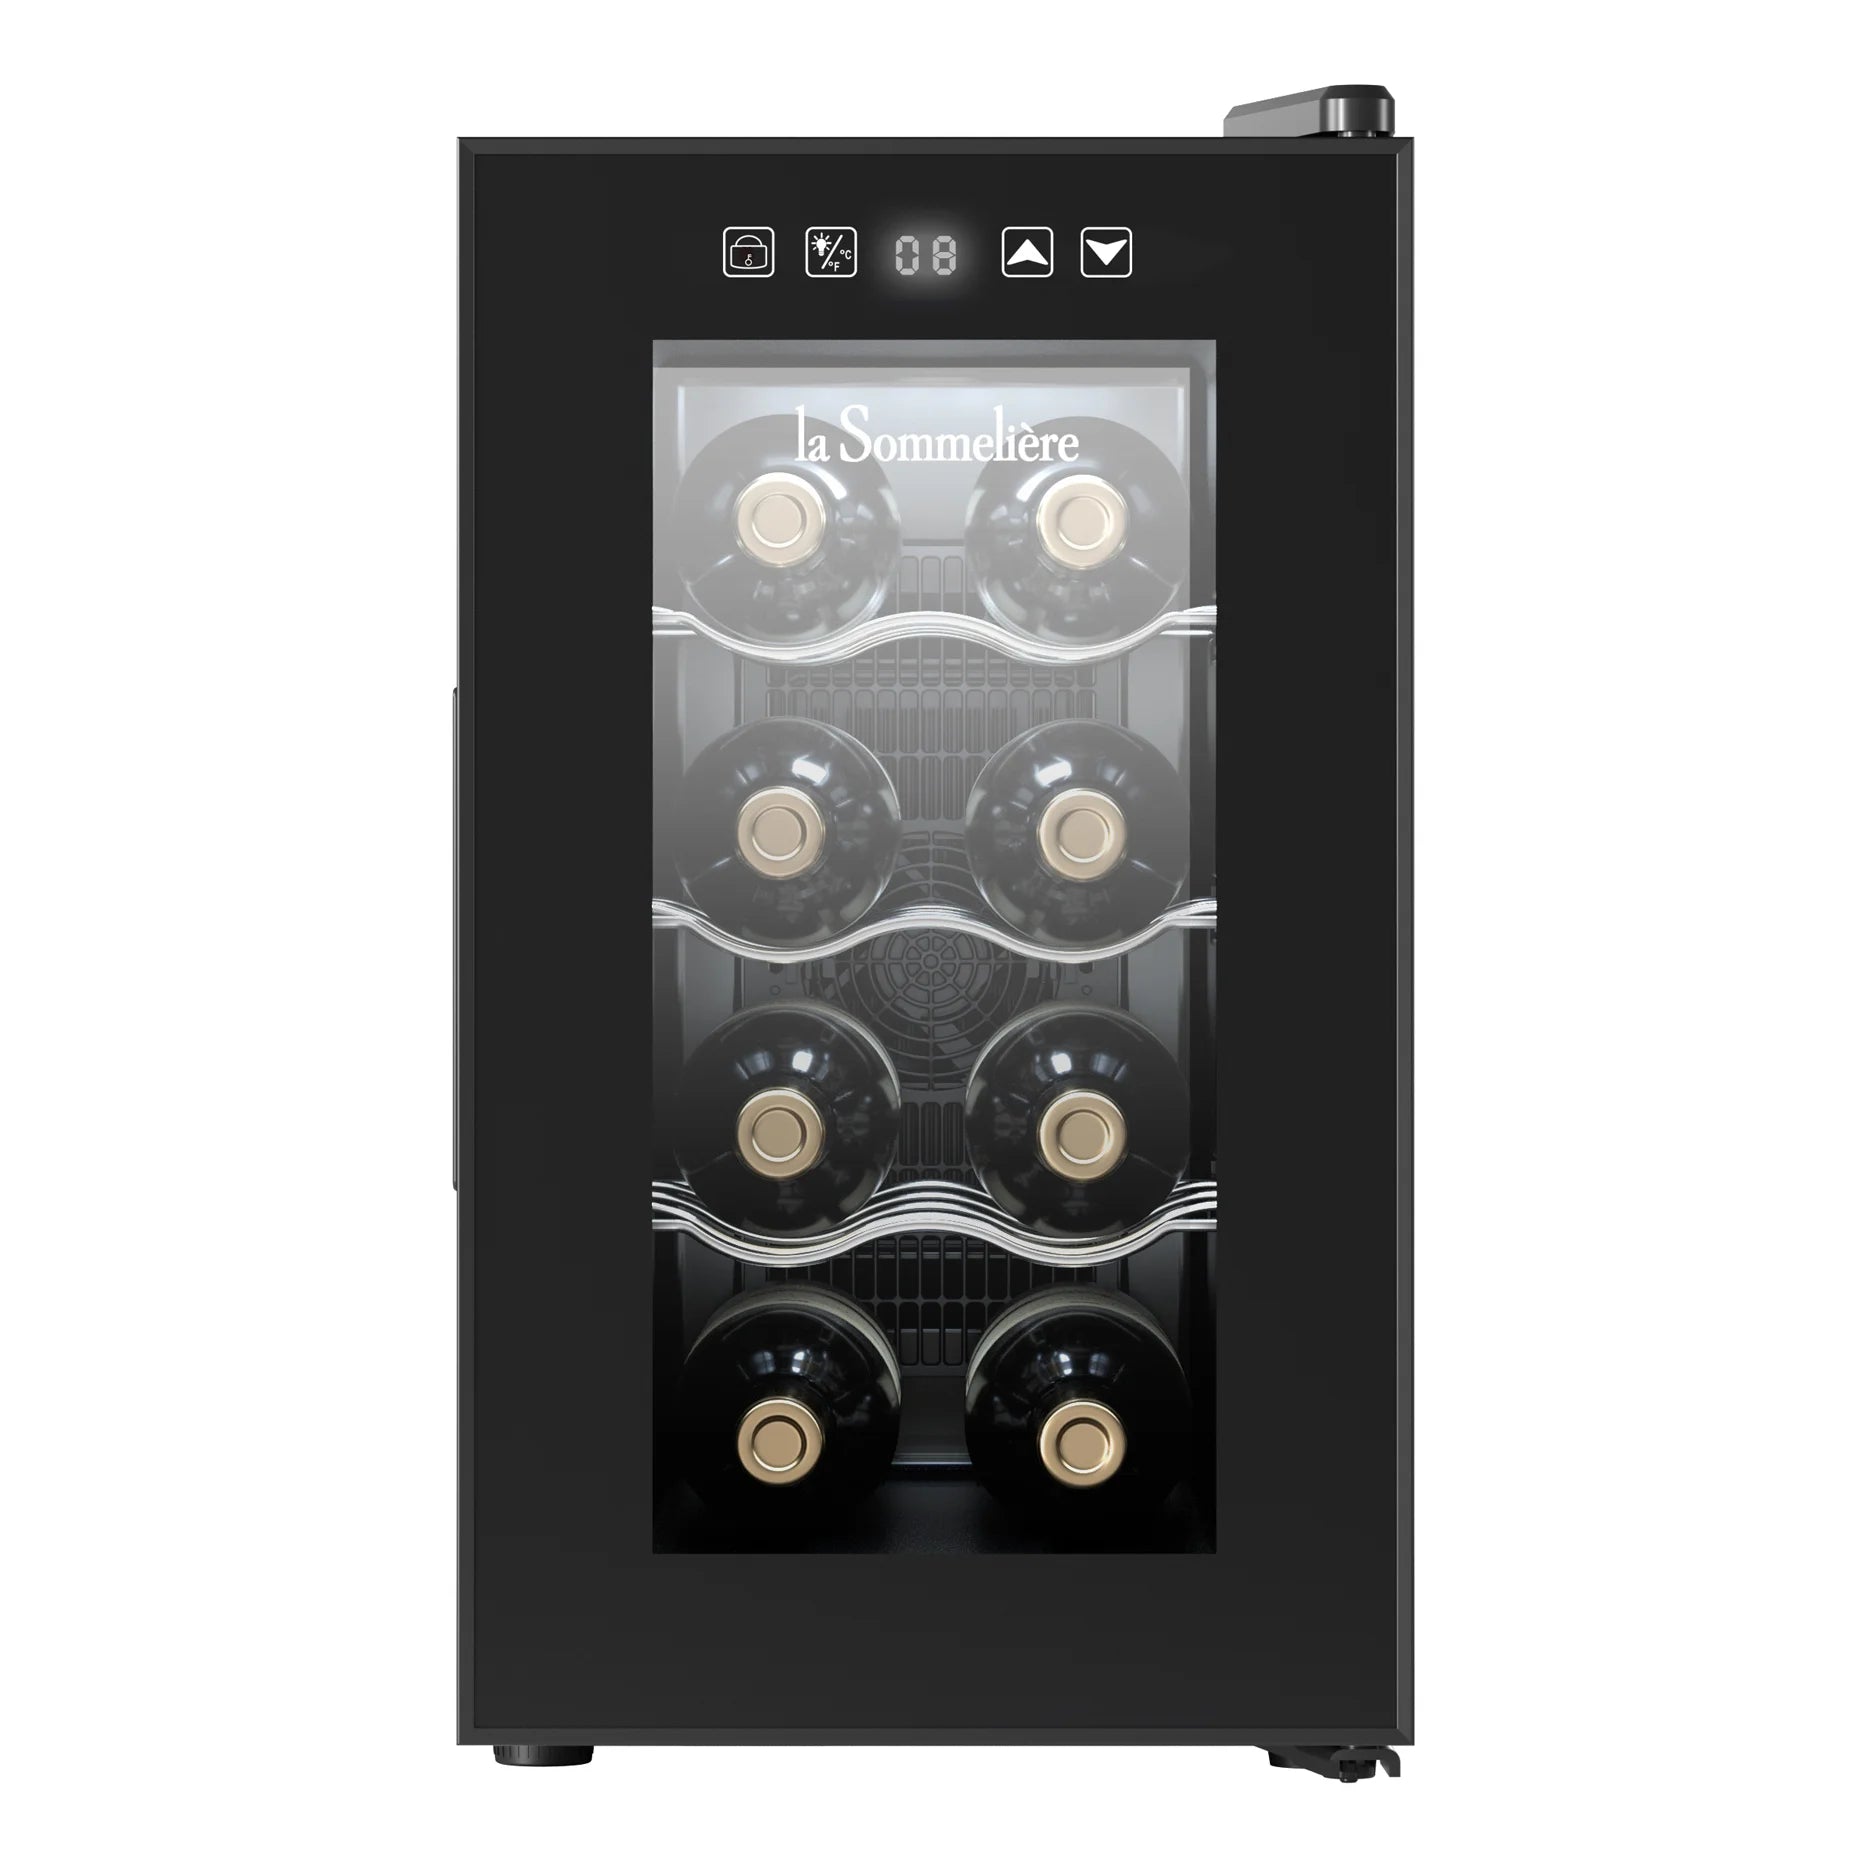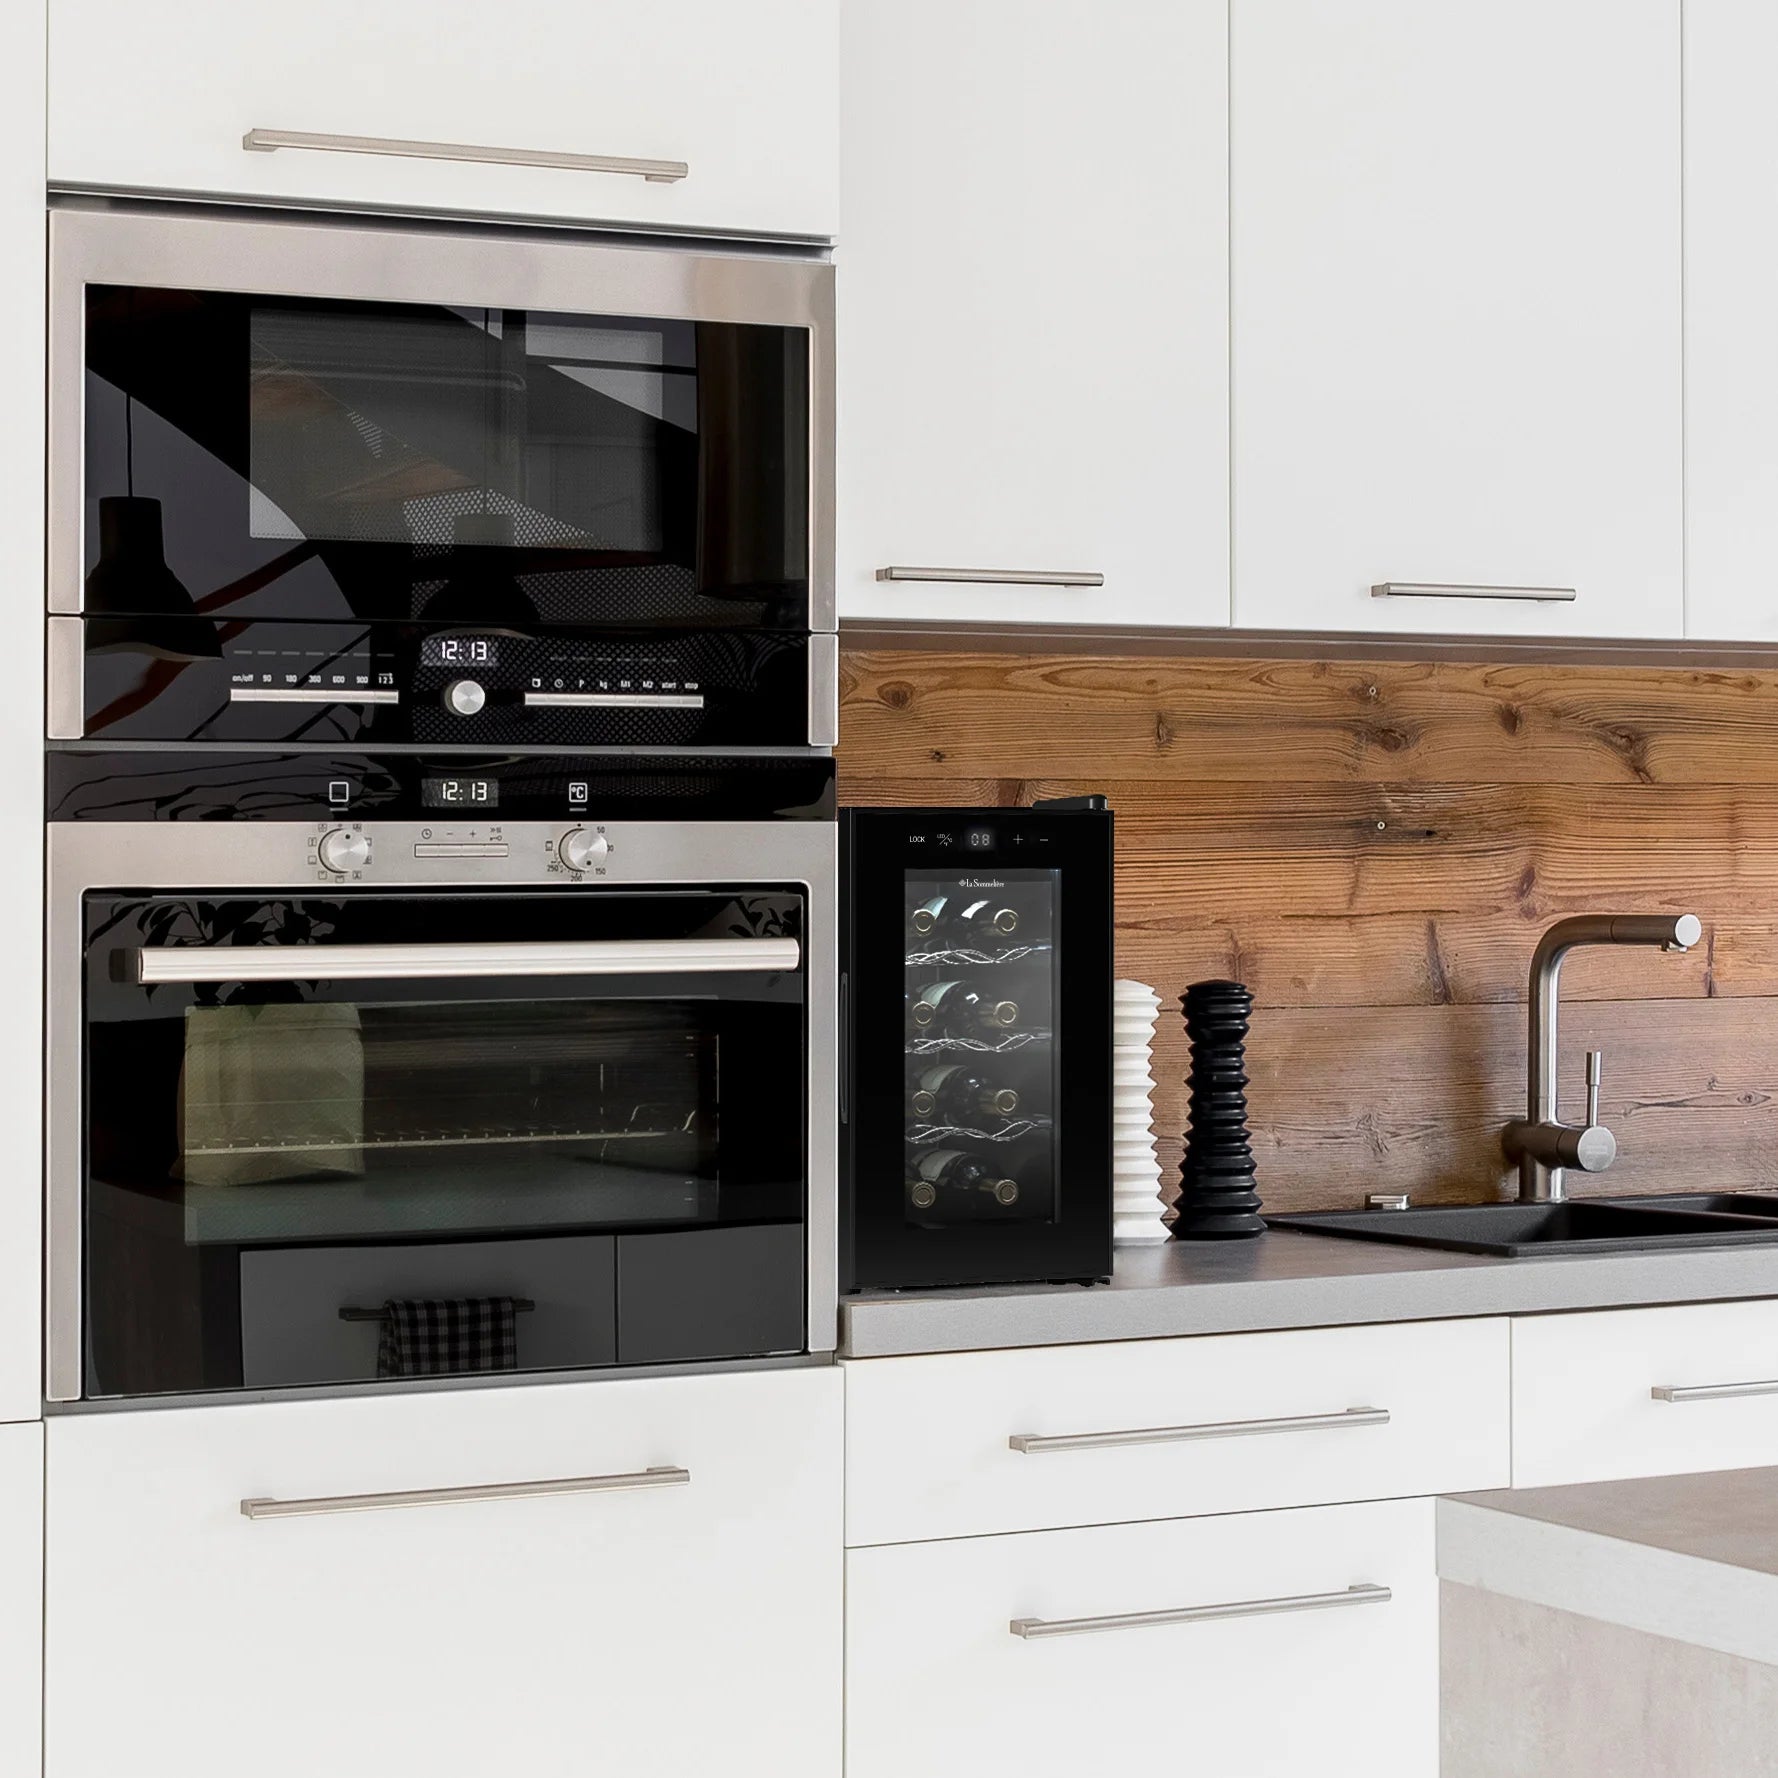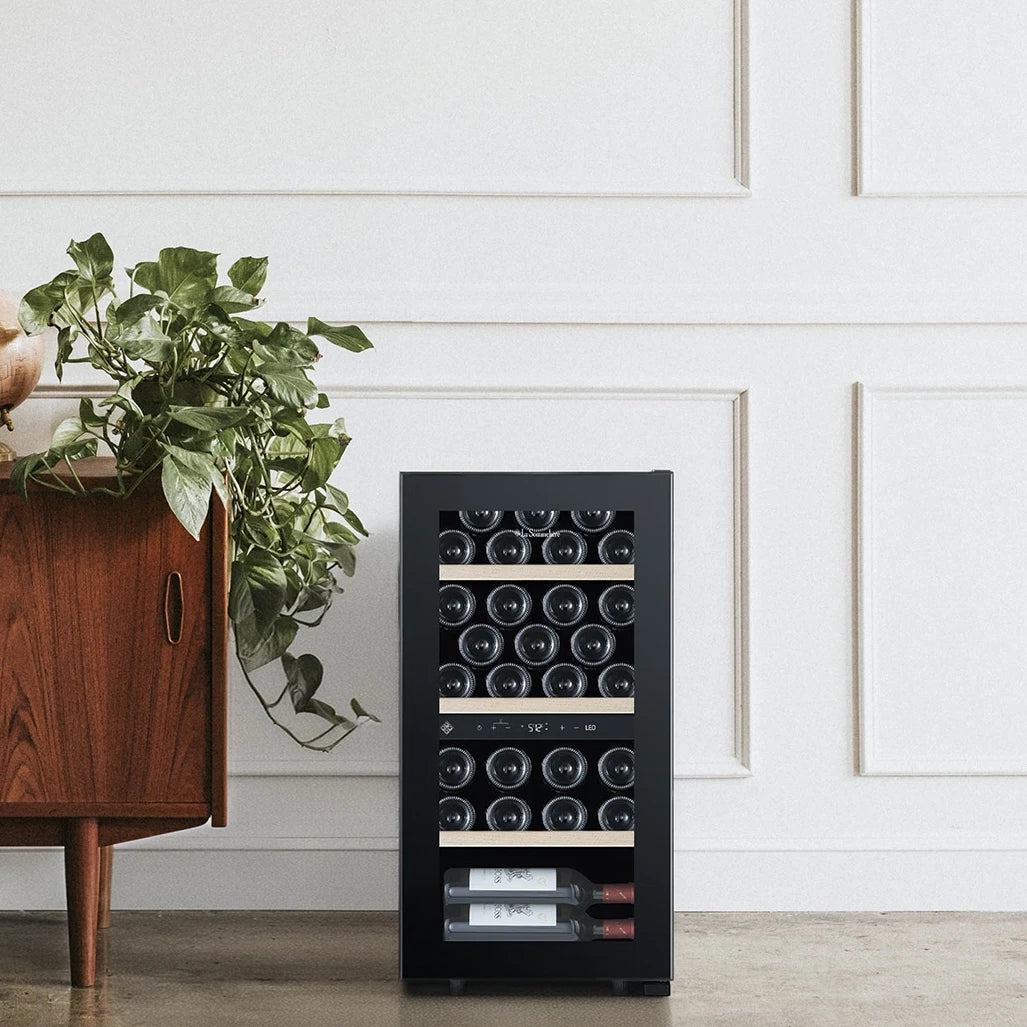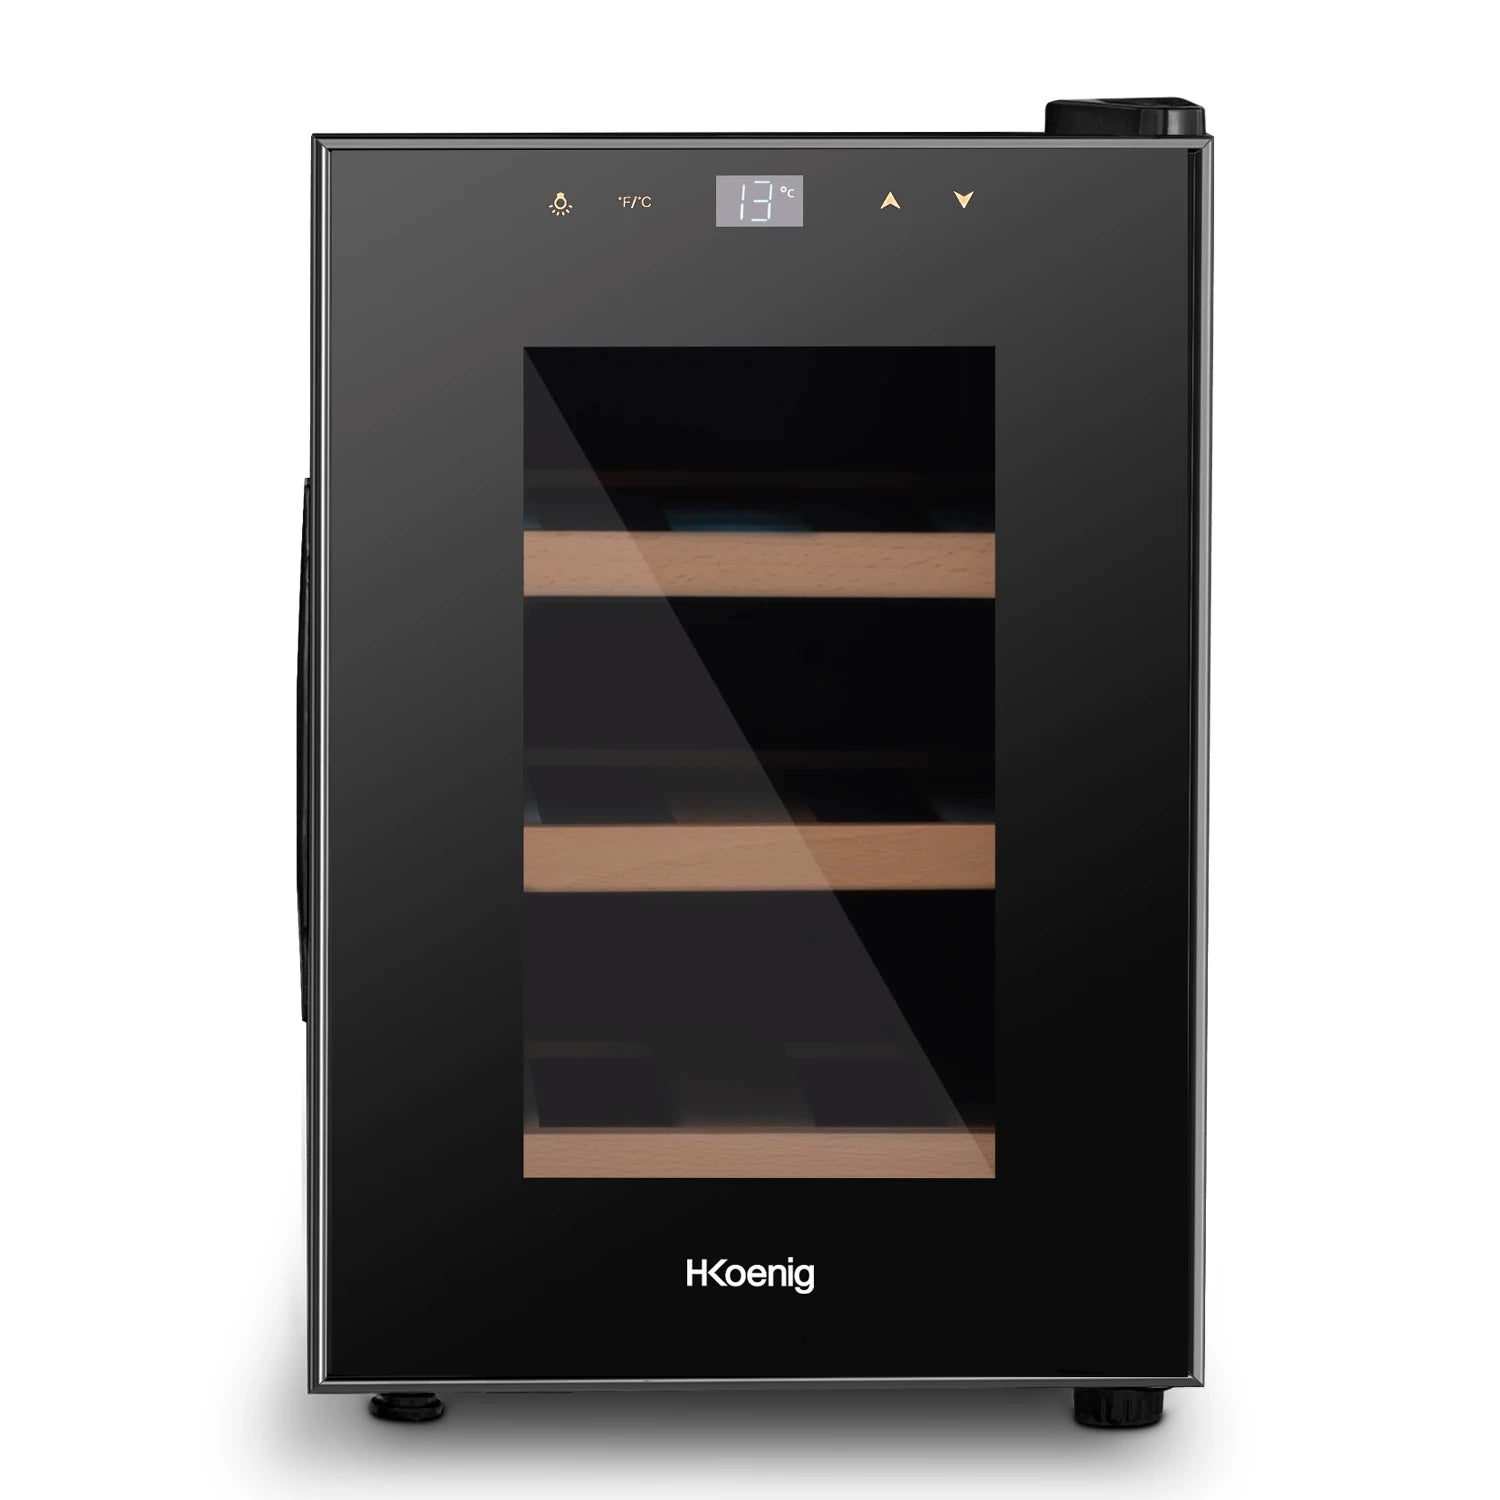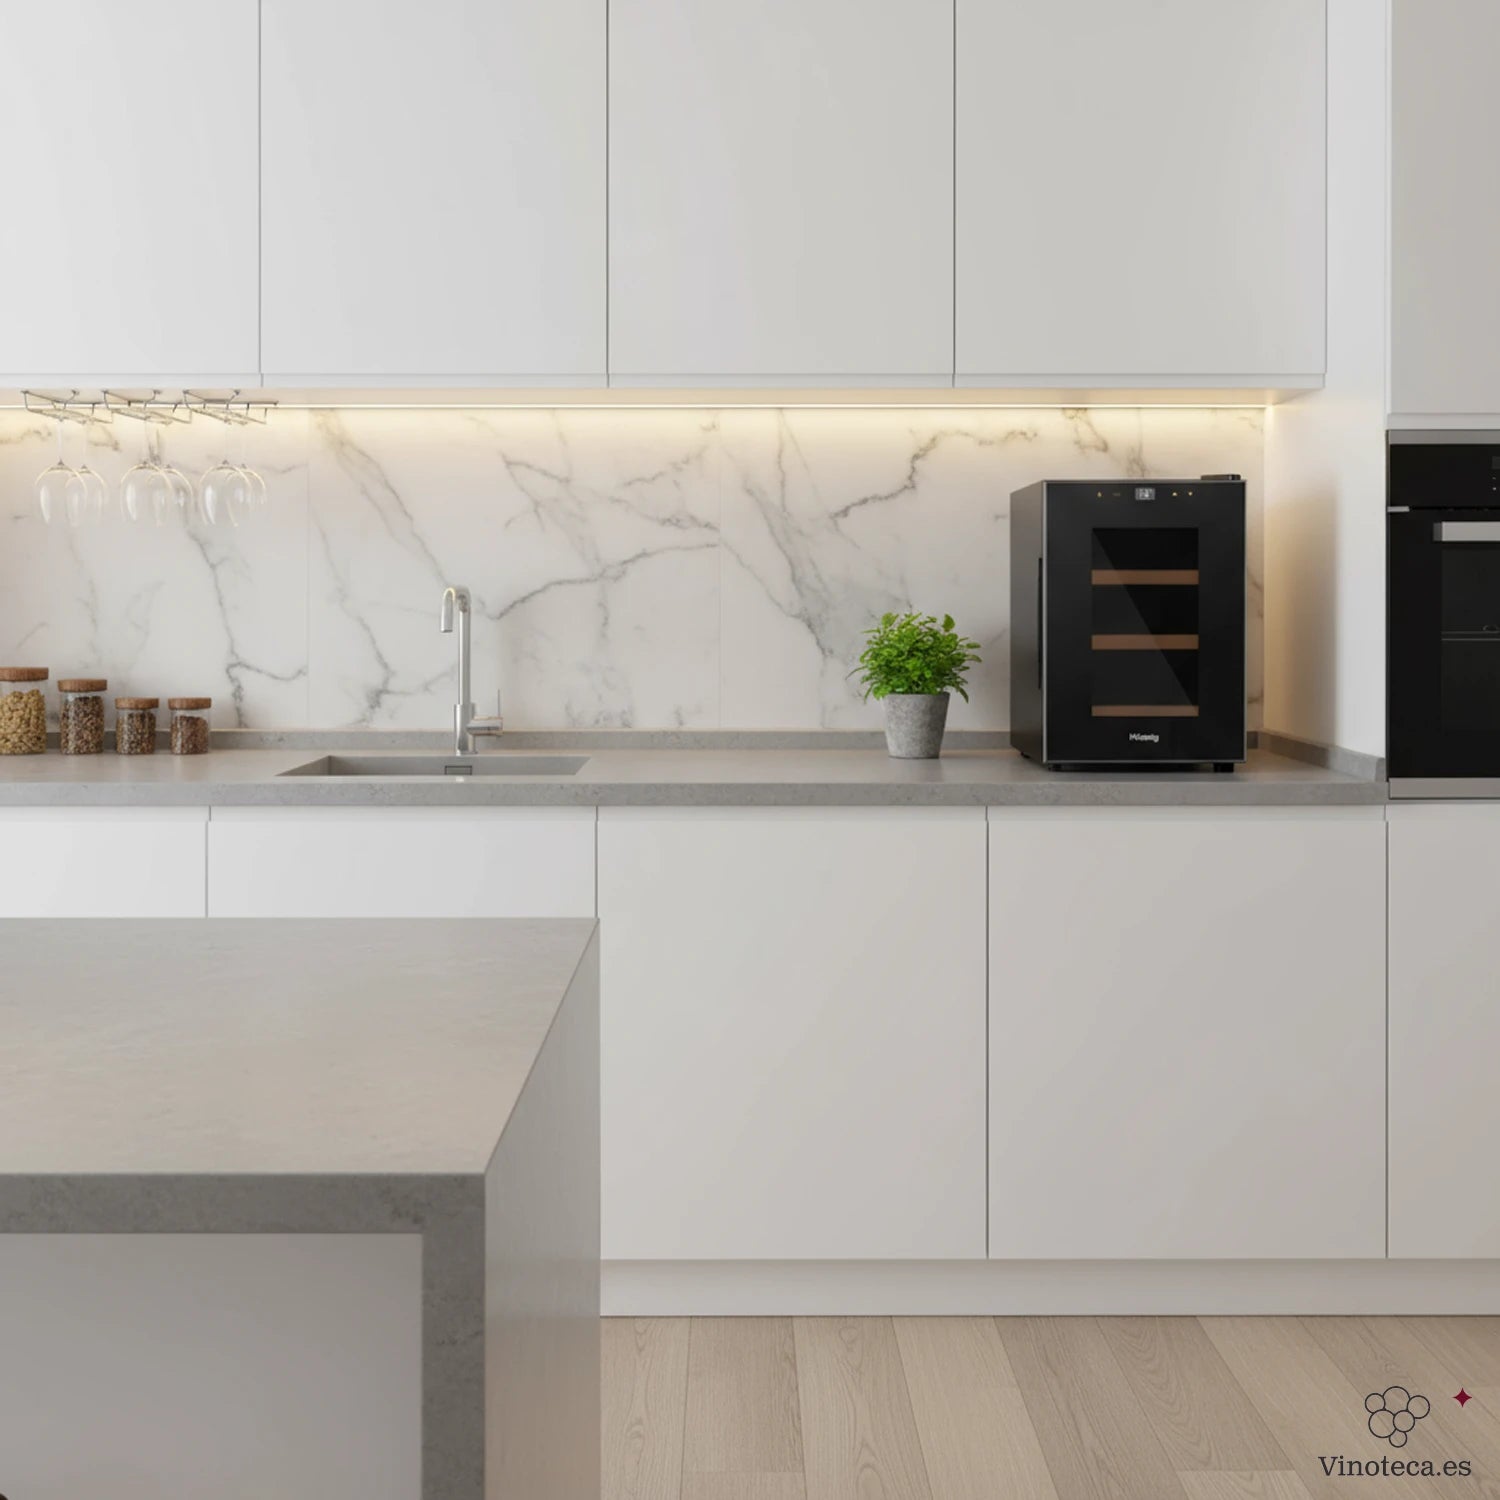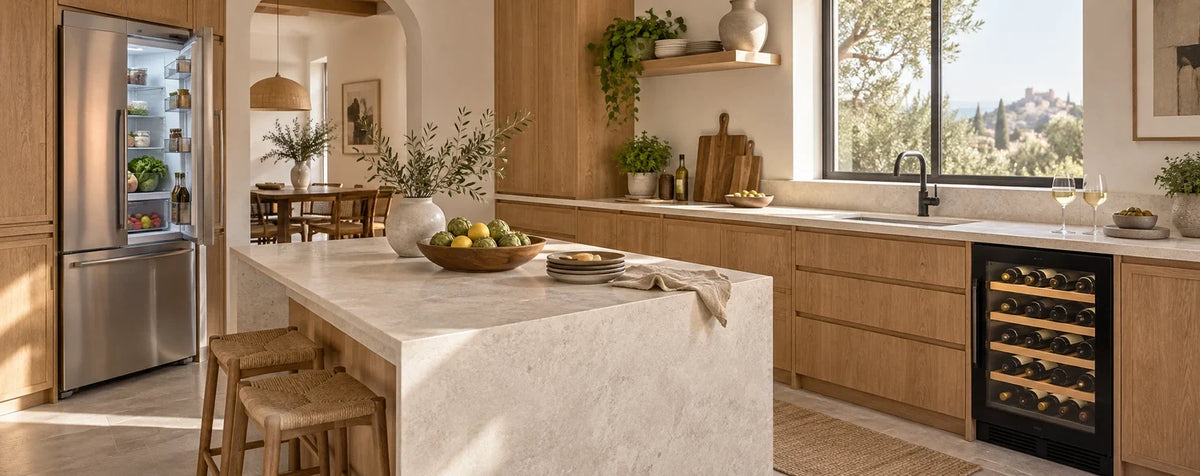

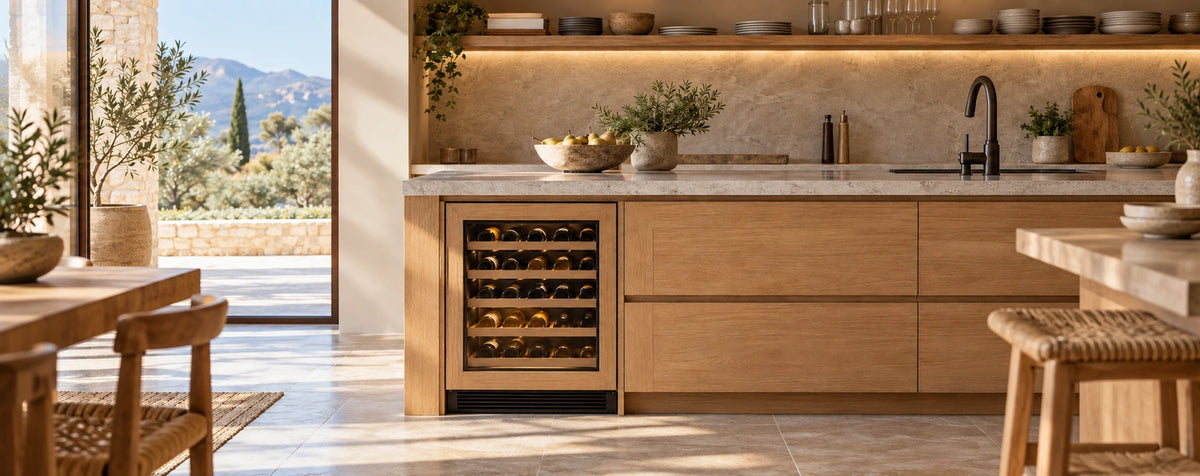
A panel-ready wine cooler is designed to accept a compatible decorative door panel in accordance with the manufacturer's instructions. Before designing your kitchen, choose the model and check its installation drawing: the cabinet opening, permitted panel, ventilation and door clearance must be planned together.
In some kitchens, every detail finds its place: the texture of wood, the continuity of cabinet fronts and that special corner where wine waits for its moment. A panel-ready wine cooler can become part of this harmony, provided that the design respects the appliance's requirements.
The key is simple: select the wine cooler before ordering the cabinetry and panel. This allows you to make informed decisions and share the right documentation with your kitchen designer or installer.
What is a panel-ready wine cooler?
It is a wine cooler whose door can accept a decorative front designed for that purpose. In Spanish catalogues, it may be described as panelable. The panel lets you match the appliance's finish to the cabinets, although its shape and how much it conceals depend on the model.
Some solutions leave the glass visible within a decorative surround; others may use a different front if the manufacturer allows it. Therefore, panel-ready does not necessarily mean a completely opaque door. Do not cover the glass or add a front yourself: check the configuration permitted for the specific model.
Panel-ready, built-in and integrated: what is the difference?
These terms describe related features, but do not guarantee the same possibilities. To avoid confusion, separate two questions: where can the wine cooler be installed, and how can its door be finished?
| Term | What it indicates | What to confirm |
|---|---|---|
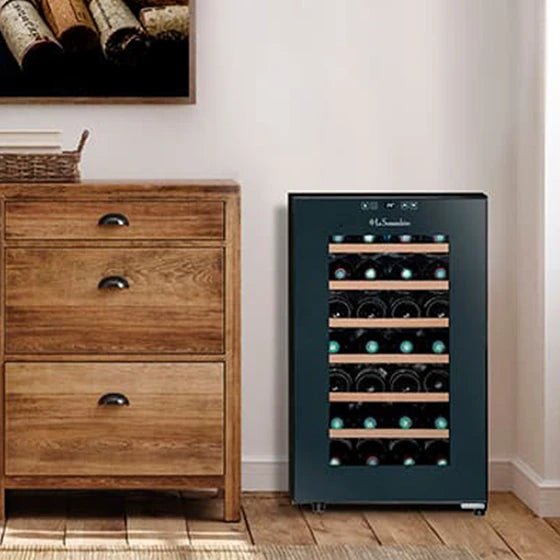
| Freestanding | The appliance is positioned as an independent unit. | Ventilation clearances; this does not automatically permit built-in installation. |
| Built-in | Installation in cabinetry is permitted within an opening designed for the model. | Whether it is built under a worktop or into a column, and its ventilation requirements. |
| Integrated | The term is used with different nuances across catalogues. | Installation drawing and door finish; the term alone does not confirm panel compatibility. |
| Panel-ready | The door accepts a specific decorative panel. | Dimensions, weight, thickness, fixings and installation requirements for the complete assembly. |
A built-in wine cooler with a steel or glass door can blend beautifully into a kitchen while still not being designed to accept a furniture panel.
Infographic: six checks before ordering your kitchen

1. Confirm that the model accepts a panel
Look for an explicit statement in the technical specification or manual. A photograph showing a kitchen does not prove that a furniture panel can be fitted to the door. Also check whether the fixing kit is included, supplied separately or requires specific accessories.
Request the panel installation instructions as well as the operating manual. The full model reference matters: two versions with a similar appearance may have different doors, hinges or finishes.
2. Check the opening and alignment of cabinet fronts
A cabinet's nominal width is not a substitute for the internal dimensions of the opening. Check usable width, height and depth against the installation drawing, including any additional space required for connections or airflow.
- Height: relate the adjustable feet's range to the worktop and finished floor level.
- Depth: allow for the panel, handle and connections without assuming they all sit within the same plane.
- Fronts: check door height and alignment with adjacent drawers or doors.
- Plinth: check its height and setback, and how it relates to ventilation and door movement.
There is no universal opening suitable for every panel-ready wine cooler. Use the drawing for the exact model, rather than the dimensions of another appliance from the same brand.
3. Specify the panel: dimensions, thickness, weight and fixings
The decorative front becomes part of the door assembly. Before having it made, request the permitted dimensions, thickness and weight limits, fixing positions and handle installation instructions where applicable.
A heavier finish or a different handle may change the load on the door or interfere with its movement. Your aesthetic choice must remain within the manufacturer's specifications.
Confirm who supplies and installs each component: wine cooler, hardware, panel and handle. Agreeing this in advance helps coordinate appliance delivery with cabinet production.
4. Plan ventilation from the beginning
Adding a panel to the door does not remove the need to release heat. The design must respect the air inlets, outlets and airflow routes specified for the model, whether it uses a front grille or ventilation through the cabinetry.
Do not conceal a grille behind a closed plinth. Do not improvise openings without checking that their position and area comply with the installation drawing. If you want visual continuity, plan it together with the ventilation.
For more detail, read our guide to where to install a wine cooler and the ventilation it needs.
5. Review the hinges and usable door opening
The door must open far enough for convenient everyday use. Allow not only for inserting bottles, but also for removing shelves as required by the appliance's design.
- Check the hinge side and whether the door can be reversed on that model.
- Review clearances beside walls, columns and adjacent cabinets.
- Account for the movement of the panel and handle.
- Confirm whether the appliance uses a handle or a push-to-open mechanism; not every model offers both.
If the wine cooler sits at the end of a cabinet run beside a wall, ask the designer to draw the door's movement and shelf withdrawal before finalising the project.
6. Allow for everyday use, connection and maintenance
The location should remain practical after installation. Consider how you will load bottles, clean shelves and access the appliance if maintenance is required.
Provide an electrical connection that meets the manual's requirements, and avoid placing the socket where it reduces usable depth without allowing for it. Confirm that the appliance can be disconnected and removed following its installation procedure.
Before choosing, also assess usable capacity for your bottles, temperature zones, noise level and the permitted ambient temperature range. Appearance matters, as do storage performance and everyday convenience.
What to give your kitchen designer
- The wine cooler's full model reference.
- Opening dimensions and ventilation requirements.
- Panel drawing, weight and thickness limits, and fixing details.
- Hinge side and door movement.
- Plinth, handle and electrical connection details.
- Agreed responsibilities for supply and installation.
With this information, the design can proceed using verified dimensions.
Mistakes to avoid
Common mistakes include ordering the cabinetry first, assuming every built-in model accepts a panel, making a front without checking its weight, or covering ventilation to create a continuous plinth. Another is choosing by the stated bottle capacity without checking shelf layout and the bottle formats you use.
The best prevention is to review the complete assembly before production: appliance, opening, panel, door clearance and airflow.
Frequently asked questions about panel-ready wine coolers
Can I add a panel to a wine cooler I already own?
Only if the manufacturer confirms that the model accepts a panel and provides a compatible installation system. Do not add a front to a door that is not designed for one.
Is the panel included?
Do not assume it is. Check what is supplied with the product and what the kitchen designer must make or provide, including hardware and handle.
Are they all completely concealed?
No. Some leave the glass visible within a surround coordinated with the cabinetry. The finish depends on the door construction and permitted panel.
Do they all support handle-free opening?
No. Push-to-open is a specific feature. Confirm that the model offers it before designing a front without a handle.
Can I use a continuous plinth?
This depends on ventilation and door movement. A plinth must not block required openings; its design must comply with the manufacturer's drawing.
A kitchen designed for your wine, too
A panel-ready wine cooler lets you coordinate your cabinetry and give your collection a place of its own. The best result starts with an appliance that suits the project and every detail resolved before installation.
At Vinoteca.es, our specialist advice helps you assess the model and its documentation. Send your opening dimensions and preferred finish to info@vinoteca.es or call +34 917 37 91 25.
Find the ideal wine cooler for your kitchen.
Illustrations are for guidance. Always use the documentation for the specific model when making the cabinetry and panel.